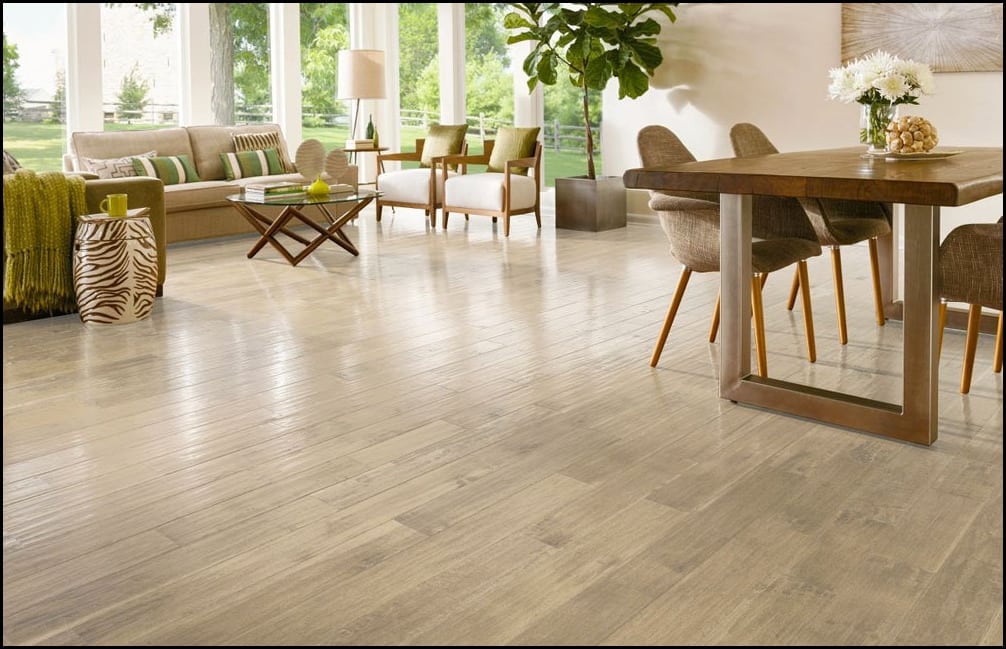
DIY project: hardwood floor restoration
Has your hardwood flooring seen better days and you feel like there is no other option than to replace it? In most cases, restoration is a great way of reaching satisfying results for much less time and effort. Plus, you can do it by yourself! First, prepare the floor by removing the carpeting (a putty knife might come in handy for scraping) and hammering down any protruding nail heads, about ¼’ into the floor. Don’t forget to vacuum the area and possibly mop it (preferably by hand) to get rid of debris and any loose particles.
Now that your floor is ready for restoration, the next step is to remove the damaged layer with a large walk behind sander. Keep in mind there are two types of sanders: drum and vibrating. Use the first one only for severe damages, then – after sweeping and vacuuming the area – apply the vibrating sander. Advisable grit papers for the sanders are respectively 36-60 and 80-100.
Finishing touches
Don’t forget about the edges! For them, use an edge sander that you will most likely get as a part of the rental. The paper you want to use for it is 80-grit. Before fully applying the machine – and that goes for all the sanders – practice on a hidden area to get the hang of manning it. Before applying the stain make sure all the holes are covered with wood paste (a mix of sawdust and a bit of white glue).
After that, you want to make sure no debris is present on your floor. Once done, ventilate the area and get yourself a mask and a pair of gloves as it’s time to apply the stain. At TEDDY Hardwood Flooring we like to use lamb’s wool applicator to get the job done fast and that is what we recommend. Alternatively, you may simply call for us and we’ll get the job done for you!


