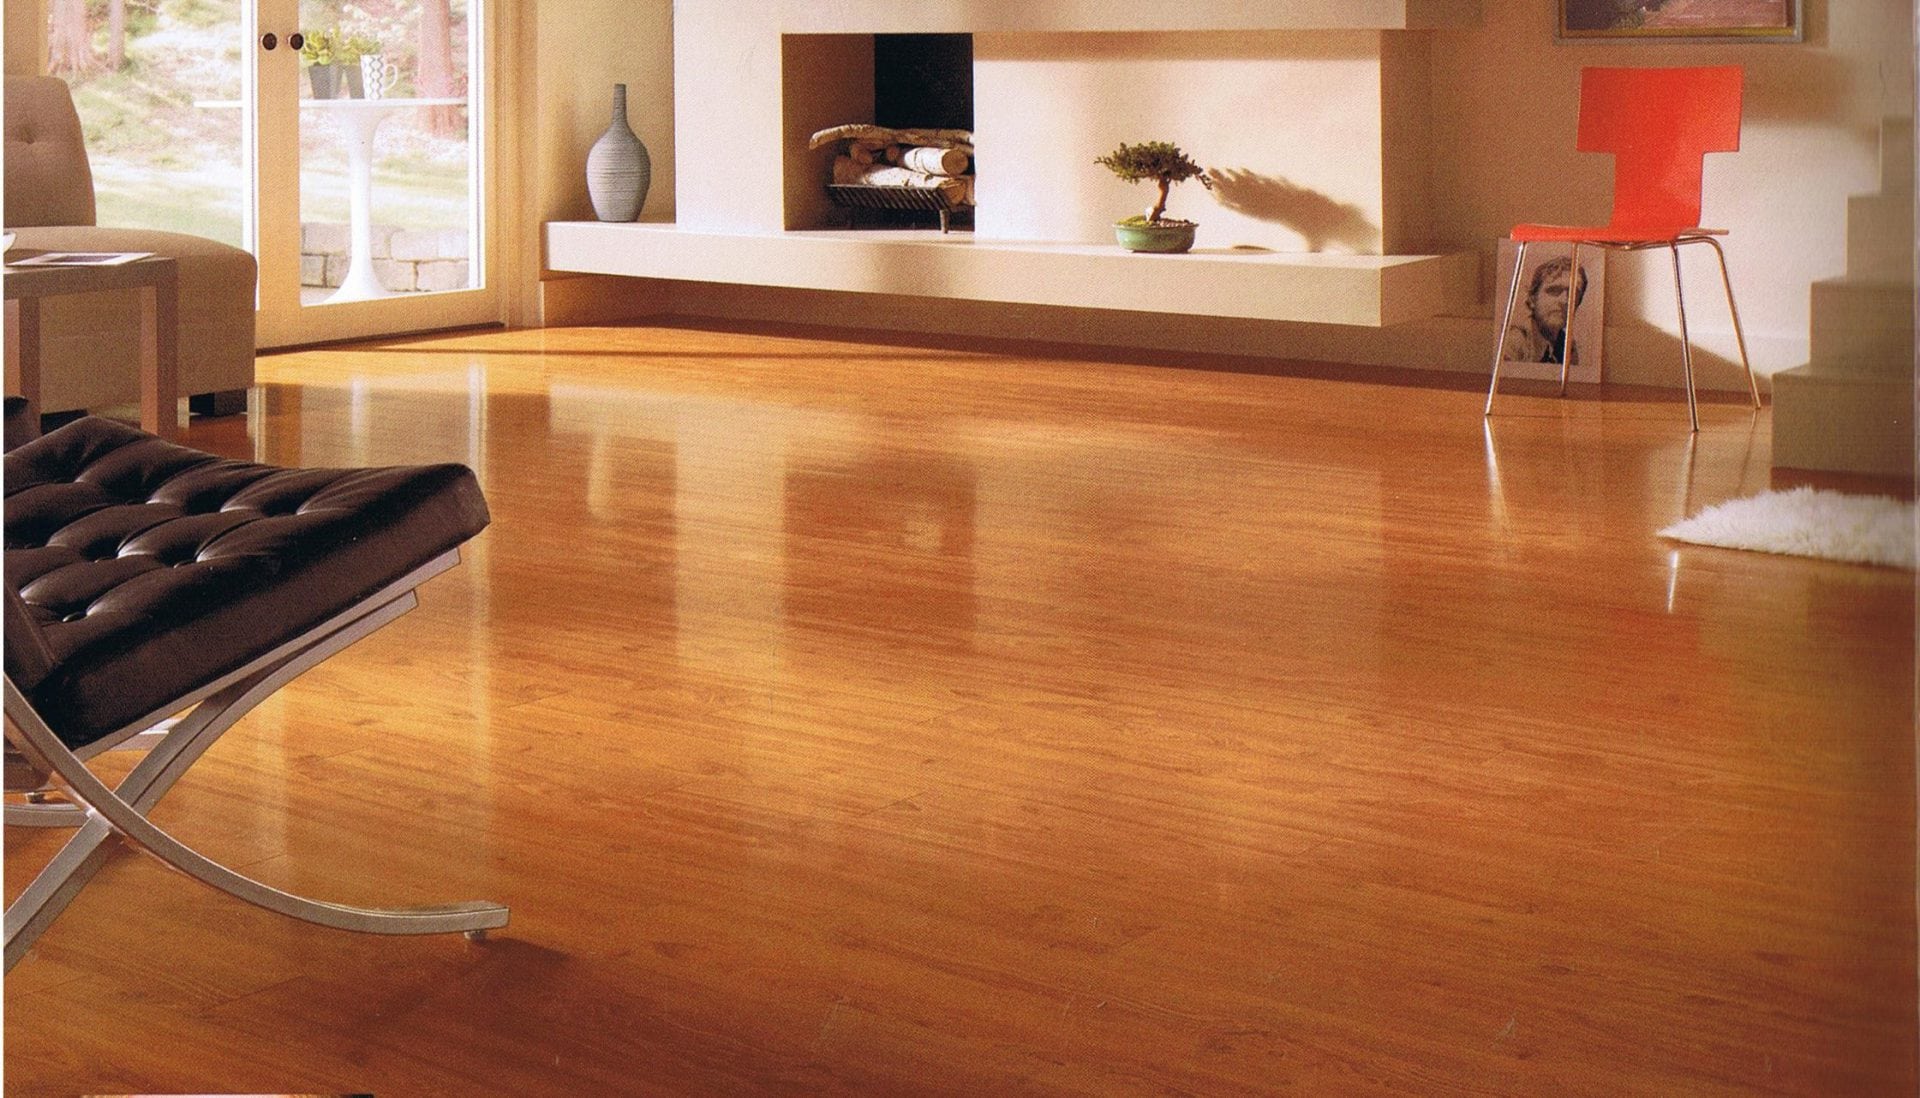
Before you get into the actual installation, you’re going to have to start by picking the perfect hardwood species for your home or room. There are a huge variety to choose from, so take your time during this phase and also make sure you choose the right board width. Once you have your material chosen, take some measurements so your contractor knows what they’re working with. Your contractors will also have to address squeaks in the floor by screwing down into the sub-floor and joisting where the squeak is happening. Next up – the hardwood floor installation itself!
The First Stages of Hardwood Floor Installation
Most contractors opt to begin installation near the longest wall in the room. They’ll usually remove shoe molding and leave as much room as possible for expansion or contraction, depending upon your local climate. They’ll then begin placing the boards for your actual floor. Starting with a long, straight board, contractors will align its edge with a chalk line and drill pilot holes into the sub floor. From this point, boards will be nailed in a random, but aesthetically pleasing pattern, with varying lengths to create a natural feel. Boards must always be perpendicular to the joists, as well.
Finalizing Your Hardwood Floor Installation
Once all the boards are in place and ready to go, contractors will begin to systematically nail each board in place. They’ll then be stapled to make sure everything is perfectly secure. All the gaps will be filled in to make sure you have a nice, even floor all the way around your room. Once the last board is in place, there will typically be a 3/8” gap between the end wall to allow for expansion or contraction. The last step of any hardwood installation is to fill in holes with wood putty and clean up all the debris and any mess caused by the installation.

